
Riklabel resources
How to Set Up a SATO Label Printer for Barcode Labels
Watch the Riklabel SATO printer setup video and follow the step-by-step guide for SATO driver settings, label size, thermal transfer, direct thermal printing, and label design software.
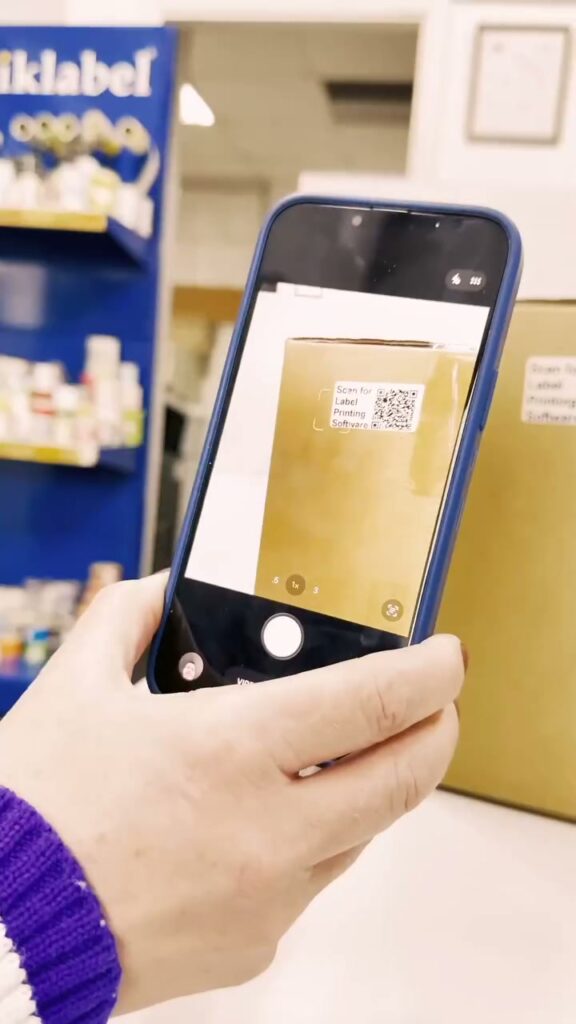
Setting up a SATO label printer is mostly about three things: installing the correct driver, matching the printer settings to the label stock, and designing the label at the exact size you plan to print. The short video below walks through the basic flow.
Quick SATO printer setup checklist
- Scan the QR code on the printer box. Send the setup link to the computer that will print the labels.
- Download the right SATO driver. Use the driver that matches your operating system and printer model. SATO notes that the Windows driver is required for label printing from Windows applications.
- Open Devices and Printers. In Windows, right-click the SATO printer, then open Printing Preferences.
- Set the page size. Under Page Setup, change the stock to Custom and enter the exact label width and height.
- Choose the correct media sensor setting. For standard gap labels, select Label with Gaps. If the printer skips labels or prints between labels, run media calibration and confirm the correct gap or I-mark setting.
- Set the print operation. In the print mode settings, use Tear Off when labels are manually removed after printing.
- Choose the print method. Select Thermal Transfer when using ink ribbons. Select Direct Thermal when using direct thermal label stock without a ribbon.
- Install label design software. Open the setup page again, fill in the required details, and download the label software, such as Loftware NiceLabel when supplied for your setup.
- Create the label at real size. Start a new label, confirm the SATO model, set the canvas dimensions to match the label size, and choose print on a roll.
- Add your barcode or artwork. Drop in a barcode, picture, text, or product information, then run a test print before printing production quantities.
What to check if the print is not aligned
If labels drift, skip, or print across the gap, first confirm that the driver page size and the label design canvas match the physical label. Then calibrate the media sensor. SATO documentation describes auto-calibration for gap and I-mark sensors, and recommends reloading the media and confirming the sensor result after calibration.
If the image is faded, check whether the printer is set to thermal transfer or direct thermal. Thermal transfer needs the correct ribbon and label combination. Direct thermal should be used only with direct thermal label material.
If the printer is not found, confirm the USB, network, or wireless connection, reinstall the correct SATO driver, and use SATO’s All-In-One Tool where supported to configure and manage connected printers.
Need labels, ribbons, or printer help?
Riklabel can help match SATO printers with barcode label rolls, thermal transfer ribbons, direct thermal labels, and label sizes for retail, logistics, healthcare, warehouse, and office workflows.
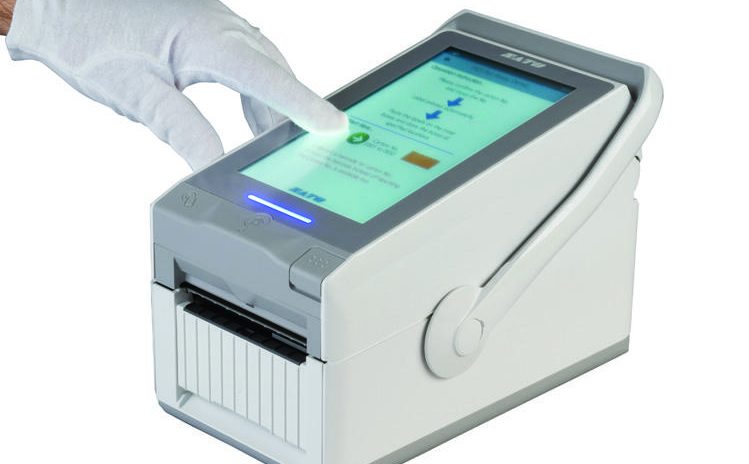
SATO FX3-LX
SATO FX3-LX supports food labeling workflows with improved efficiency, reduced desk space, wall mounting, portability, and multi-language printing.
- Category type
- Simple
- Listed variants
- Quote configured
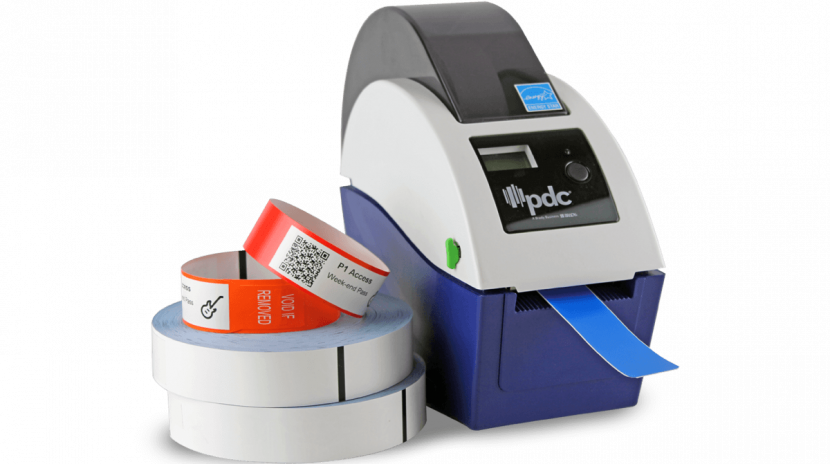
PDC Wristband Printer
The PDC direct thermal printer is the perfect fit for our thermal printable wristbands.Print photos, text, logos, bar codes or other graphics with direct thermal technology.
View details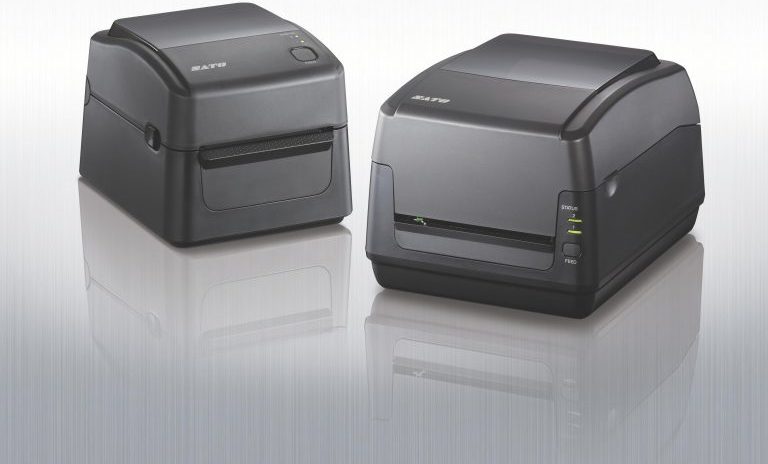
SATO WS408 / WS412 – The WS4 Thermal Printer
User-friendly thermal transfer and direct thermal printer for labels, receipts, tags, and wristbands with Ethernet and 203/300 dpi resolution options.
- Category type
- Simple
- Listed variants
- Quote configured
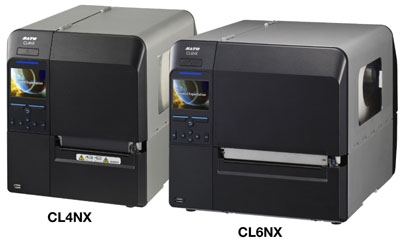
CL4NX High Performance Barcode Printer
Universal industrial label printer with full-color interactive LCD, intuitive navigation, tool-less maintenance, flexible media support, and high-energy mode.
- Category type
- Simple
- Listed variants
- Quote configured